TIG welding aluminum has a way of testing your patience—one second the puddle won’t form, the next it suddenly collapses and burns through. I’ve spent plenty of time chasing a clean bead, fighting oxide buildup, and readjusting settings mid-weld just to get things under control.
Learning solid TIG welding aluminum tips and tricks made the difference between messy, inconsistent welds and smooth, strong joints that actually hold up.
After years of trial and error with AC balance, amperage control, and filler rod timing, I’ve picked up techniques that work in real shop conditions. I’ll walk you through the practical adjustments and habits that help you weld aluminum with confidence and consistency, step by step.
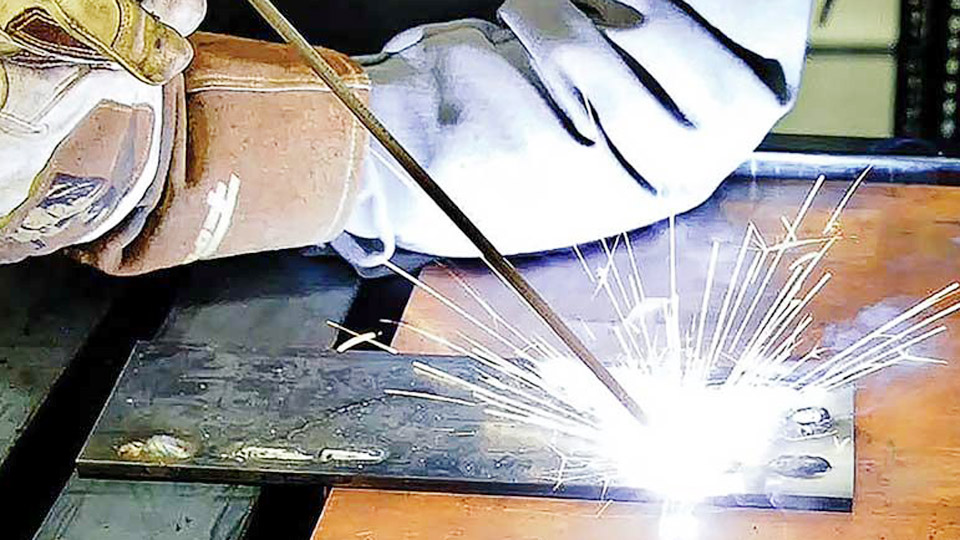
Image by thefabricator
What is Stick Welding and Why Choose It?
Stick welding is that straightforward process where you use an electric arc to melt a flux-coated electrode into the joint, fusing metals together while the flux creates a protective slag layer. No need for external gas tanks like in MIG or TIG— the electrode does the shielding job itself.
It’s been a staple in the industry since the early 1900s, and in the US, it’s governed by AWS standards that ensure consistency in everything from electrode classifications to weld quality.
Why pick stick over other methods? For starters, it’s rugged and forgiving in dirty environments. I’ve used it on rusty pipelines in the Midwest where cleaning every surface wasn’t feasible, and it still produced solid welds.
It’s ideal for thicker materials, say 1/8-inch steel and up, and excels in all positions—flat, horizontal, vertical, or overhead—which is why it’s a go-to for pipeline welders or shipbuilders following ASME codes.
But it’s not just for pros; as a hobbyist, you can tackle home projects like building a workbench without breaking the bank on fancy equipment.
In terms of when to use it, consider your setup. If you’re working outdoors or on contaminated metals, stick’s flux handles oxidation better than gas-shielded processes. Why it matters: poor process choice can lead to brittle welds that fail under load, costing you in repairs or safety risks.
I’ve learned the hard way—early in my career, I tried MIG on a windy job site, and the porosity ruined the joint. Switched to stick, and problem solved.
Practical tip: if your project involves carbon steel or cast iron, stick is often the most efficient choice for strong penetration without excessive prep.
Essential Equipment for Stick Welding Setup
Before you even plug in, let’s talk gear. You need a reliable stick welder, which is basically a constant current power source. In the US, brands like Lincoln Electric or Miller are popular for their durability—I’ve got a Lincoln Idealarc in my shop that’s been humming for a decade.
Look for one with at least 200 amps output if you’re handling thicker stock, but for hobby work, a 140-amp inverter model does fine and runs on 120V household power.
Then there’s the electrode holder, or stinger— that clamp that grips your rod. Go for a twist-lock style if you’re in tight spots; it’s secure and easy to maneuver. The ground clamp is your work lead—attach it firmly to the workpiece or table to complete the circuit. Don’t skimp here; a loose connection causes erratic arcs and frustration.
Safety equipment is non-negotiable: a welding helmet with at least shade 10 lens (auto-darkening for convenience), leather gloves, jacket, and boots to protect against sparks and heat. I’ve burned through cheap gloves once—lesson learned, invest in flame-resistant ones rated for welding. Add a respirator if you’re in a confined space to avoid fumes.
Other must-haves: chipping hammer for slag removal, wire brush for cleaning beads, and pliers for hot rod stubs. For storage, keep electrodes in a dry rod oven if using low-hydrogen types like 7018 to prevent moisture pickup, which can cause hydrogen cracking in welds.
When setting this up, think about your workspace. A sturdy table, good ventilation, and fire extinguisher nearby keep things safe. I’ve rigged up portable setups in the field with just a generator and these basics, proving how versatile stick is for on-the-go work.
Choosing the Right Stick Electrodes
Picking the electrode is like selecting the right tool for the job—it dictates your weld quality and ease. Electrodes are classified by AWS, like E6010 or E7018, where “E” means electrode, the numbers indicate tensile strength and position usability.
For beginners, start with E6013—it’s forgiving, works in all positions, and runs on AC or DC. Great for thin sheet metal or general fab work. I’ve used it countless times for quick tacks on mild steel frames. E6011 is similar but penetrates deeper, ideal for rusty or painted surfaces without much cleaning.
For stronger welds, E7018 is my go-to for structural stuff. It’s low-hydrogen, reducing crack risks, but needs dry storage. Use it on clean carbon steel for high-integrity joints, like in bridge repairs adhering to US welding codes.
Diameter matters too: 3/32-inch for thin materials (under 1/8-inch) to avoid burn-through, 1/8-inch for 1/4-inch stock. Why? Thicker rods carry more current for better deposition but require higher amps.
Practical insight: match electrode to base metal. For stainless, grab 308L; for cast iron, Ni-Cl works wonders on repairs. Common mistake—using the wrong type, like a basic rod on acidic steels, leading to slag inclusions. Fix it by checking the rod box for compatibility.
Anecdote: I once grabbed E6010 for a clean joint and got too much spatter—switched to 7018, and the bead smoothed out beautifully.
Here’s a quick comparison table of common electrodes:
| Electrode Type | Best For | Positions | Polarity | Amperage Range (1/8″ rod) | Pros | Cons |
|---|---|---|---|---|---|---|
| E6010 | Deep penetration, root passes on pipes | All | DCEP | 75-125 amps | Handles dirt well | Hard to restart, more spatter |
| E6011 | Similar to 6010, AC-compatible | All | AC/DCEP | 75-125 amps | Versatile for home use | Requires practice for smooth beads |
| E6013 | General purpose, thin metals | All | AC/DC | 80-130 amps | Easy arc start, low spatter | Less penetration than 6010 |
| E7018 | High-strength, low-hydrogen | All | DCEP | 90-165 amps | Excellent toughness | Needs dry storage, sensitive to moisture |
Use this as a starting point, but always test on scrap.
Setting Up Your Welder: Polarity and Connections
Let’s get hands-on with the machine. First, unplug everything—safety first. Your welder has two outputs: positive and negative. For most stick welding, set to DCEP (DC Electrode Positive), meaning electrode holder to positive terminal, ground to negative. This gives deeper penetration, perfect for thicker metals.
Connect the cables: plug the stinger into the positive port (usually marked), twist tight. Clamp the ground to your workpiece or table—ensure it’s clean metal for good contact. I’ve had arcs fizzle out from painted clamps; scrape it bare.
If your machine has AC/DC switch, choose DC for smoother arcs unless specified otherwise for the rod. For inverter welders common in US shops, flip to stick mode if it’s multi-process.
Tip: double-check polarity on the electrode box—some like E6010 run best on DCEP. Wrong setup? You’ll get shallow welds or excessive spatter. Lesson from my shop: a trainee set DCEN once, and the bead looked like Swiss cheese—switched polarity, and it fused perfectly.
For portable setups, like using a generator in remote US job sites, ensure stable power to avoid voltage drops that mess with your arc.
Adjusting Amperage for Optimal Welds
Amperage is the dial that controls heat—too low, and the rod sticks; too high, and you burn holes. Start with the rod’s recommended range: for 1/8-inch E6013, aim 80-130 amps. Factor in material thickness—lower for thin stuff to prevent warping.
How to dial it: turn on the machine, set mid-range, strike a test arc on scrap. If the puddle is sluggish and rod freezes, bump up 10 amps. If it’s splattering wildly or the arc sounds like bacon frying too loud, dial down.
In practice, for 1/4-inch mild steel with 1/8-inch 7018, I run 120 amps flat, dropping to 110 for vertical to control gravity. Common mistake: ignoring position—overhead needs lower amps to avoid drips. Fix by practicing beads in different orientations.
Anecdote: on a fence repair job, I started too hot at 140 amps and melted through—dropped to 115, and the weld held strong against livestock testing it.
Advanced machines have hot start (initial amp boost for easy striking) or arc force (stabilizes during shorts)—use them if available for cleaner starts.
Safety First: Gear and Precautions
Welding’s hot, bright, and hazardous—I’ve got the scars to prove it. Always wear your helmet down before striking; UV rays can flash-burn your eyes in seconds. Leather gear blocks sparks—I’ve seen cotton shirts catch fire from a stray glob.
Ventilate your space; fumes from flux can irritate lungs, especially in enclosed US garages following OSHA guidelines. Use a fan or extractor hood.
Electrical safety: inspect cables for frays, and never weld in wet conditions to avoid shocks. Ground properly to prevent stray arcs.
Tip: keep a first-aid kit with burn cream handy. Common mistake: forgetting ear protection—the arc’s buzz can damage hearing over time. In my workshop, I mandate full PPE for trainees—no exceptions.
Preparing Your Workpiece for Stick Welding
Stick’s beauty is minimal prep—weld through light rust thanks to flux. But for best results, grind or wire-brush contaminants off. For joints, bevel edges on thick stock (over 1/4-inch) at 30-45 degrees for full penetration.
Clamp pieces securely; movement mid-weld ruins beads. For US code-compliant work, like API standards for pipes, ensure fit-up is tight.
Tip: preheat thicker metals with a torch to reduce cracking—I’ve done this on cast iron repairs to avoid thermal shock. Mistake: skipping cleaning on critical joints, leading to porosity. Fix with a quick brush pass.
Step-by-Step Guide to Striking and Running a Bead
Ready to weld? Here’s how:
- Gear up and ground the workpiece.
- Insert rod into stinger at 90 degrees.
- Set amps per rod specs.
- Flip helmet down, strike like a match—scratch surface lightly, lift to rod-diameter arc length.
- Drag at 10-15 degree angle, flat/horizontal; use whip-pause for vertical (whip out to cool, pause in puddle).
- Maintain steady speed—bead should be twice rod width.
- End by pulling away slowly.
- Chip slag, brush clean.
Practice on scrap; my first beads were ugly blobs, but after 50 rods, they stacked like dimes.
For multi-pass, clean between layers to avoid inclusions.
Common Mistakes in Stick Welding Setup and How to Fix Them
Rookies often reverse polarity—shallow welds result. Fix: check rod box, default to DCEP.
Loose connections cause intermittent arcs—tighten everything.
Wrong amps: sticking means too low; spatter too high. Test and adjust.
Moist rods crack welds—store dry. I’ve baked damp 7018 in an oven at 250°F for hours to salvage them.
Overheating machine—duty cycle limits matter; cool down as needed.
Advanced Tips for Better Stick Welds
Weave for wider joints: side-to-side motion fills gaps evenly. For overhead, short arcs prevent sags.
Joint prep: V-groove for butts, lap for strength.
Material handling: quench hot welds slowly to avoid brittleness.
In US shops, follow AWS D1.1 for structural—document settings for inspections.
Anecdote: on a custom railing, weaving with 6013 gave a smooth finish clients loved.
Comparing Stick Welding to Other Processes
Stick vs. MIG: MIG’s faster for production but needs clean surfaces; stick’s tougher outdoors.
Vs. TIG: TIG’s precise for thin/aluminum, but slower; stick’s quicker for heavy fab.
Table:
| Process | Speed | Cleanliness Required | Portability | Cost |
|---|---|---|---|---|
| Stick | Medium | Low | High | Low |
| MIG | High | High | Medium | Medium |
| TIG | Low | High | Medium | High |
Pros of stick: versatile, cheap. Cons: more cleanup, skill-dependent.
Conclusion
You’ve now got the full rundown on setting up a welder for stick—from polarity and amps to electrode picks and techniques. You’re better equipped to tackle projects with confidence, knowing your welds will hold strong, save costs, and keep you safe.
Always run a test bead on scrap before the real deal—it catches issues early and hones your feel for the arc. Keep practicing, and you’ll turn out pro-level work in no time.
FAQ
What amperage should I use for 1/8-inch stick electrodes?
For a 1/8-inch rod like E7018 on 1/4-inch steel, start at 110-130 amps on DCEP. Adjust based on the puddle: if it sticks, increase; if it spatters, decrease. Test on scrap for your machine.
How do I choose between AC and DC for stick welding?
DC is smoother for most rods, with DCEP for penetration. Use AC for specific electrodes or if your machine lacks DC. It handles magnetic arc blow better on thick plates.
Why does my stick rod keep sticking to the metal?
Usually low amps or long arc—bump up current 10 amps and keep arc length to rod diameter. Damp rods also cause this; dry them out.
Can I stick weld aluminum?
Yes, with special electrodes like E4043, but it’s trickier—needs clean surfaces and AC. For better results, switch to TIG.
What’s the best electrode for beginners in stick welding?
E6013—easy to strike, low spatter, all positions. Practice on mild steel to build confidence before tougher rods.