
Welding with a Lincoln wire feed welder requires controlling wire speed, voltage, and travel technique to produce clean, consistent welds.
If you’re asking How to Weld with a Lincoln Wire Feed Welder, the main challenge is balancing heat input and wire feed rate to avoid defects like porosity, burn-through, or uneven bead profiles.
In real shop conditions, improper setup or inconsistent motion can result in spatter, lack of fusion, or distortion—issues that lead to costly rework and inspection failures.
Selecting the right wire type, shielding gas, and amperage for the base metal, combined with proper gun angle and travel speed, is critical for stable arc performance.
This guide covers step-by-step operation, setup, and technique tips for using a Lincoln wire feed welder effectively, helping welders achieve strong, high-quality joints on mild steel, stainless steel, and aluminum while minimizing defects and downtime.
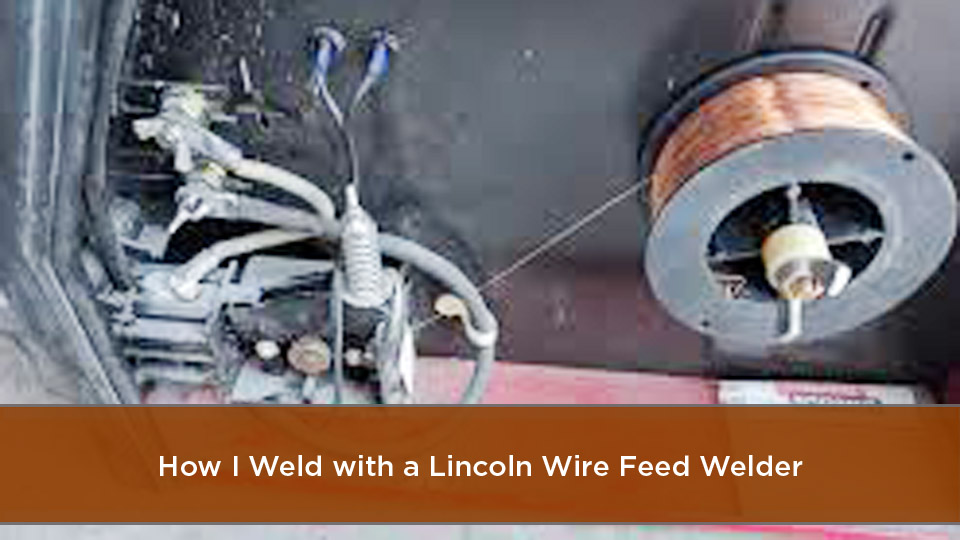
Image by weldingweb
What Is a Lincoln Wire Feed Welder?
A Lincoln wire feed welder is a type of MIG (Metal Inert Gas) machine that uses a continuous wire electrode fed through a gun to create an arc and join metals. The wire acts as both filler and electrode, melting into the joint while shielding gas protects the weld pool from contamination.
Models like the Lincoln Power MIG 210 MP handle multiple processes, including MIG, flux-cored, TIG, and stick welding, but this guide centers on wire feed MIG for its speed and ease on ferrous metals.
These welders feature adjustable voltage and wire feed speed controls, allowing precise tuning for different material thicknesses.
For example, on 1/8-inch mild steel, you might set voltage to 18-20 volts and wire speed to 250-300 inches per minute (IPM). The drive roll system pushes the wire smoothly, preventing birdnesting—a tangle caused by improper tension.
Lincoln’s Synergic technology in some models automatically matches voltage to wire speed, simplifying setup for consistent arc starts. This reduces spatter and ensures better penetration without excessive heat input, which can warp thin materials.
Preparing Your Workspace and Equipment
Before starting, organize your workspace to support safe and efficient welding. Clear a 10-foot radius around the welder to avoid fire hazards from sparks. Use a non-flammable surface like a metal table, and ensure good ventilation to disperse fumes—position an exhaust fan or work outdoors if possible.
Gather essential gear: auto-darkening helmet (shade 10-13), leather gloves, jacket, and safety glasses. For the welder, check the power source; most Lincoln models require a 220-volt outlet for full output, though some like the Handy MIG run on 115 volts for lighter duty.
Inspect the machine: Confirm the gas cylinder (typically 75% argon/25% CO2 for mild steel) is secure with a regulator set to 20-25 cubic feet per hour (CFH).
Install the wire spool—0.030-inch ER70S-6 wire is standard for general use—and thread it through the liner to the gun tip. Adjust drive roll tension just enough to feed wire without slipping; overtightening crushes the wire.
Test the setup with a scrap piece: Trigger the gun to verify wire feeds evenly and gas flows without leaks. This preparation step prevents interruptions and ensures arc stability from the first pass.
Setting Voltage, Wire Speed, and Gas Flow
Proper settings form the foundation of successful welds. Voltage controls arc length and heat input—higher voltage widens the bead and increases penetration, while lower voltage suits thinner metals to avoid burn-through.
Wire feed speed determines deposition rate; faster speeds deposit more metal but require matching voltage to prevent stubbing.
For Lincoln welders, refer to the chart inside the door panel. On 16-gauge steel, start with 16-18 volts and 150-200 IPM. For 1/4-inch plate, bump to 22-24 volts and 350-400 IPM.
Always fine-tune based on sound: A smooth “frying bacon” crackle indicates balance; hissing means too much voltage, while popping suggests insufficient gas or speed.
Gas flow is critical for shielding. Set to 20-25 CFH for indoor use; increase to 30-35 CFH in drafts to prevent porosity—small holes from trapped gas in the weld. Use pure CO2 for deeper penetration on thicker stock, but it produces more spatter than argon mixes.
Polarity matters: For solid wire MIG, use DCEP (Direct Current Electrode Positive) to focus heat on the workpiece. Switch to DCEN for some flux-cored wires if specified. Test settings on scrap to confirm bead profile—aim for a flat, even contour with good tie-in at the edges.
Joint Preparation and Material Compatibility
Clean joints yield stronger welds. Remove rust, paint, or oil with a wire brush or grinder; contaminants cause inclusions or weak bonds. Bevel edges on thicker materials (over 3/16-inch) at 30-45 degrees for better penetration in multi-pass welds.
Lincoln wire feed welders excel on mild steel, stainless, and aluminum with the right consumables. For mild steel, ER70S-6 wire provides good ductility.
On aluminum, switch to 4043 or 5356 wire, argon gas, and a spool gun to avoid feeding issues. Material thickness guides technique: Push for thin sheets to minimize distortion; pull for thicker plates to control the puddle.
Position affects flow—flat is easiest for beginners, allowing gravity to aid puddle control. For vertical welds, use a slight weave to build shelf support and prevent sagging.
Overhead requires lower heat to avoid drips. Match wire diameter to thickness: 0.025-inch for sheet metal, 0.035-inch for structural work.
Basic Welding Techniques Step by Step
Hold the gun at a 10-15 degree angle from perpendicular, with 3/8-1/2 inch contact tip to work distance (CTWD). This maintains arc stability and gas coverage.
Step 1: Strike the arc by triggering the gun while touching the wire to the joint—Lincoln’s auto-set features help initiate smoothly.
Step 2: Move at a steady travel speed, about 8-12 inches per minute for 1/8-inch material. Too slow causes excessive buildup; too fast leads to underfill.
Step 3: Use a straight drag or slight push technique for flat welds. For fillets, aim the gun at 45 degrees to the joint.
Step 4: Overlap beads by 50% in multi-pass welds to ensure fusion without valleys.
Monitor the puddle: It should be oval-shaped, flowing evenly. Adjust speed if it spreads too wide (reduce heat) or narrows (increase). End the weld by reversing direction briefly to fill craters, preventing cracks.
Practice on scrap to develop feel—consistent motion reduces undercut, where the base metal erodes at the toe.
Common Adjustments for Better Weld Quality
Arc instability often stems from improper settings. If spatter is excessive, lower voltage or check gas flow—blockages in the nozzle cause turbulence. For poor penetration, increase amperage; Lincoln machines display approximate amps based on settings.
Wire type influences behavior: Flux-cored wire (e.g., E71T-11) works without gas for outdoor use, producing slag that must be chipped off. It offers deeper penetration but more cleanup.
Environmental factors: In humid conditions, store wire in a dry cabinet to prevent hydrogen absorption, which causes cracking. For windy areas, use a gas lens or windbreak.
One practical insight: When welding galvanized steel, grind off the coating first to avoid zinc fumes, which can cause metal fever. Another: Periodically clean the drive rolls with a wire brush to maintain feed consistency.
Maintenance for Long-Term Reliability
Regular upkeep keeps your Lincoln welder performing. After each session, blow out dust from the case with compressed air. Replace the contact tip when worn—erosion causes erratic arcs.
Check the liner monthly: Pull the wire and inspect for kinks; replace if feeding binds. Lubricate the drive gears sparingly with manufacturer-approved grease.
Store the machine in a dry, covered area to prevent corrosion. For gas systems, close the cylinder valve when not in use to save resources.
Track usage: Lincoln’s digital displays log hours, helping schedule professional servicing every 500-1000 hours for internal checks.
Troubleshooting Key Issues
If wire doesn’t feed, verify tension and polarity—reverse polarity can cause feeding resistance. Porosity points to gas issues: Clean the nozzle or increase flow.
Burn-back, where wire fuses to the tip, results from excessive CTWD or low speed; shorten the stickout and boost feed rate.
Weak welds often trace to dirty metal or insufficient heat—reprep the joint and test amp draw.
Conclusion: Building Confidence in Your Welds
Mastering how to weld with a Lincoln wire feed welder comes down to consistent setup and attentive adjustments, turning basic joints into durable fabrications.
By focusing on clean preparation, balanced settings, and steady technique, you achieve beads with excellent fusion and minimal defects, whether repairing equipment or creating custom pieces. This approach not only saves time but enhances safety and material efficiency in any shop environment.
To optimize for high-production runs, integrate pulse MIG modes on models like the Power MIG 256—pulsing reduces heat input by 20-30%, allowing faster travel speeds up to 15 IPM on 10-gauge steel without distortion, ideal for repetitive automotive work.
FAQ
Can I Use a Lincoln Wire Feed Welder for Aluminum?
Yes, with a spool gun attachment and 100% argon gas. Select 0.035-inch 4043 wire for general alloys, setting voltage to 20-22 volts and speed to 300-350 IPM. Clean the aluminum thoroughly with a stainless brush to remove oxide.
What Wire Size Should I Choose for Different Thicknesses?
For materials under 1/8-inch, use 0.025-0.030-inch wire to control heat. On 1/4-inch and thicker, opt for 0.035-0.045-inch for higher deposition. Match to your model’s capacity—smaller wires feed easier on entry-level units.
How Do I Prevent Birdnesting in the Wire Feed?
Ensure proper spool tension and drive roll alignment. Set the brake just tight enough to prevent overrun. If it occurs, cut the tangled wire and rethread, checking for liner wear.
Is Shielding Gas Always Necessary?
No, switch to flux-cored wire for gasless operation in windy conditions. It provides similar strength but requires slag removal. Use E71T-GS for all-position welding on mild steel.
What Power Source Do I Need for a Lincoln Power MIG?
Most require 220-volt single-phase, drawing 20-30 amps. Portable models like the 140 MP work on 120 volts but limit output to 90-100 amps, suitable for light repairs only.


