
Sparks were flying everywhere, and I was squinting through the edge of my cheap mask, trying to tackle a tricky MIG joint on a steel frame. The glare was brutal, and I ended up with a few small burns on my forehead before I realized I needed to do this the right way.
That’s when I learned just how crucial knowing how to use a welding helmet properly is — not just for protecting your eyes, but for controlling your arc, improving weld quality, and saving yourself from costly mistakes.
After years of trial and error, I’ve picked up techniques that make welding safer, smoother, and far less frustrating. Let me walk you through exactly what works, step by step, so you can focus on your welds instead of the sparks.
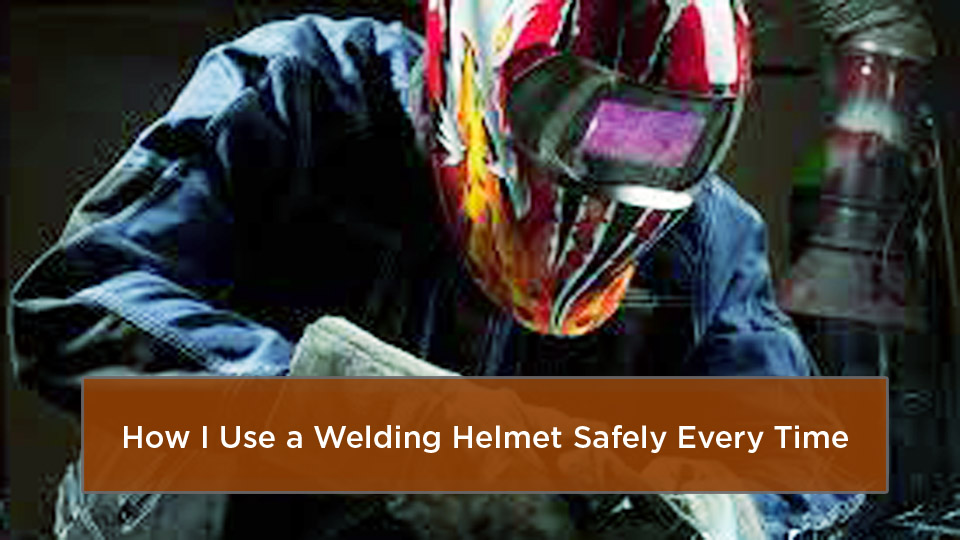
Image by http://speed.academy/
Why You Absolutely Need a Welding Helmet
You’re striking an arc on a piece of steel, and that bright flash hits your eyes unprotected. Ouch— that’s arc eye, basically a sunburn on your corneas, and it hurts like hell for days. I’ve seen guys try to skip proper protection early in their careers, and it always ends badly.
A welding helmet isn’t optional; it’s your first line of defense against ultraviolet and infrared rays, flying sparks, and hot spatter that can scar your skin or worse.
These helmets shield your entire face and neck, letting you focus on the weld pool without distractions. In the real world, especially on US job sites following OSHA guidelines, using one keeps you compliant and productive.
For DIYers, it means fewer trips to the ER and better results on projects like building a trailer or repairing farm equipment. Pros know it preserves weld integrity by allowing precise control—no squinting means straighter beads and stronger joints.
Beyond safety, a good helmet improves cost efficiency. Cheap or misused gear leads to downtime from injuries or poor visibility causing defects. I’ve saved countless hours by investing in reliable helmets that let me switch seamlessly between tasks without constant adjustments.
Types of Welding Helmets and Which One Fits Your Needs
Welding helmets come in a few main flavors, and choosing the right one depends on your work. Let’s break it down so you can pick what suits your style.
First up, passive helmets. These have a fixed dark lens, usually shade 10, and you flip them down manually before striking the arc. They’re simple, affordable, and great for beginners or occasional use, like stick welding on thick plate.
I started with one back in trade school—tough as nails, but flipping it up and down got old fast, especially on repetitive jobs.
Then there are auto-darkening helmets, which are game-changers. The lens stays clear until the arc starts, then darkens in milliseconds thanks to sensors. Perfect for pros doing MIG or TIG where you need to see your setup clearly before welding. I’ve used them on everything from automotive repairs to pipeline work, and they reduce neck strain from constant nodding.
Variable shade models let you tweak the darkness level, while fixed ones don’t. For hobbyists, a basic auto-darkener works fine; students might want one with grind mode for prepping metal without swapping gear.
Here’s a quick comparison table to help you decide:
| Helmet Type | Pros | Cons | Best For |
|---|---|---|---|
| Passive | Low cost, durable, no batteries needed | Manual flip required, fixed shade limits versatility | Beginners, occasional stick welding |
| Auto-Darkening Fixed Shade | Automatic protection, reduces fatigue | Less adjustable for different processes | Hobbyists on consistent jobs like MIG on mild steel |
| Auto-Darkening Variable Shade | Customizable darkness, grind mode options | Higher price, needs battery maintenance | Pros and students handling multiple processes like TIG and flux-core |
Think about your budget and frequency of use. If you’re fabricating custom parts daily, go variable. For weekend warriors, passive might suffice.
How an Auto-Darkening Welding Helmet Actually Works
If you’re new to this, auto-darkening helmets might seem like magic, but it’s straightforward tech. Inside the lens is a liquid crystal display (LCD) layer that polarizes when voltage hits it, blocking light. Sensors—usually two to four—detect the arc’s bright light and trigger the change in under 1/20,000 of a second.
Why does this matter? It lets you keep the helmet down while positioning your torch or electrode, improving accuracy. In my shop, this means fewer starts and stops, better bead consistency, and less material waste.
For safety, these helmets filter out 99.9% of UV and IR rays even when clear. But remember, they’re not for oxy-acetylene cutting without the right shade—stick to arc processes like SMAW or GMAW.
Early on, I had a cheap helmet that lagged on darkening. One flash too many, and I was out for a day with gritty eyes. Lesson learned—invest in quality with good optical clarity ratings, like 1/1/1/1 per ANSI standards.
Choosing the Right Welding Helmet for Your Projects
Selecting a helmet isn’t one-size-fits-all. Consider your welding process first. For stick welding with rods like E6010 for dirty metal or E7018 for clean, strong joints, a shade 10-13 variable works well since amps vary.
MIG welding on thinner sheets? Opt for larger view areas to see the wire feed clearly. TIG demands precision, so four-sensor models prevent false triggers from low amps.
Fit is key—too loose, and sparks sneak in; too tight, and you’ll get headaches. Adjust the headgear for balance. I always check weight; lighter helmets like those under 2 pounds are lifesavers on long shifts.
Budget-wise, entry-level auto-darkeners start at $50, but pros spend $200+ for features like true-color lenses that reduce eye strain. Look for US brands compliant with ANSI Z87.1 for peace of mind.
Step-by-Step Guide to Setting Up Your Welding Helmet
Unbox your helmet and follow these steps—I do this with every new one to ensure it’s ready.
First, install the batteries if needed. Most use CR2032 lithium cells; pop them in positive side up.
Next, attach the lens covers. These protect the auto-lens from spatter—outer one takes the abuse, inner keeps things clean.
Adjust the headgear. Loosen the knobs, slide for distance from your eyes (about 3-4 inches for clear view), then tighten. Tilt the angle so it sits comfortably when down.
Set the mode—weld for darkening, grind for clear lens during prep.
Test it: Point at a bright light or use the test button. Lens should darken instantly.
Common mistake: Skipping the fit check. I once had a helmet slip during a overhead weld—sparks everywhere. Fix it by ratcheting the band snug but not pinching.
For joint prep, keep it in grind mode while cleaning edges with a wire brush. This ties into material compatibility—rusty steel needs more prep, and a clear view helps.
Adjusting Shade, Sensitivity, and Delay for Optimal Performance
These settings make or break your experience. Shade level blocks light intensity—start high (13) and dial down until you see the puddle clearly without glare.
For processes:
- Stick (SMAW): Shade 10-13, depending on rod. E6013 for smooth arcs on thin metal needs less; E7014 for all-position requires more at higher amps.
- MIG (GMAW): 10-12, great for short-circuit transfer on auto bodies.
- TIG (GTAW): 9-13, lower for aluminum to see the tungsten tip.
Sensitivity controls how quickly it darkens—high for bright shops, low if nearby welders trigger it falsely.
Delay sets how long it stays dark after the arc stops—longer (0.5-1 sec) for tack welds to block afterglow, shorter for quick runs.
Tip: In humid US summers, sweat can fog lenses. Use anti-fog sprays or breathable headbands.
I remember adjusting sensitivity too high on a job site—every flashlight triggered it. Dropped it to medium, problem solved.
Here’s a table for shade recommendations based on amps and process:
| Welding Process | Amps | Recommended Shade |
|---|---|---|
| Stick (SMAW) | 50-100 | 9-10 |
| Stick (SMAW) | 100-200 | 11-12 |
| MIG (GMAW) | 80-150 | 10-11 |
| TIG (GTAW) | 50-150 | 9-11 |
| Flux-Core (FCAW) | 100-250 | 11-13 |
Adjust based on your eyes—darker if sensitive.
Testing Your Welding Helmet Before Hitting the Arc
Never trust gear without testing. Strike a test arc on scrap—lens should darken smoothly. If it flickers, check batteries or clean sensors with a soft cloth.
For passive helmets, hold to light; it should block completely. Auto ones: Use a TV remote’s IR to trigger without an arc.
Mistake: Ignoring low battery lights. I’ve had helmets fail mid-weld—always carry spares.
In practice, test in your actual environment. Bright sunlight can affect sensitivity, so tweak accordingly for outdoor jobs.
Using Your Welding Helmet with Different Welding Processes
Let’s connect this to the processes you might use. Safety ties in—always wear under safety glasses.
For stick welding: Position rod (like 6011 for AC/DC on rusty metal), helmet down, strike. Variable shade helps with varying rod burn.
MIG: Set machine voltage (18-22V for 0.035 wire on 1/4″ steel), gas flow (20-25 CFH argon/CO2 mix). Helmet lets you see nozzle alignment pre-arc.
TIG: Prep tungsten (sharp for DC steel, balled for AC aluminum), set amps (100-150 for 1/8″ material). Four-sensor helmets excel here for low-light starts.
Flux-core: No gas, great for windy sites. Shade 11+ for the smoky arc.
Joint prep: Bevel edges for penetration, clean for compatibility. Helmet in grind mode for this.
On a fence repair, using TIG with wrong shade made puddles hard to see—switched to 10, perfect beads.
Common Mistakes and How to Fix Them
Even experienced welders slip up. One biggie: Not cleaning lenses. Spatter builds, reduces visibility—wipe daily.
Another: Wrong shade—too light burns eyes, too dark hides defects. Test and adjust.
Poor fit leads to gaps—sparks burn neck. Ratchet tighter.
Forgetting grind mode during prep? Lens darkens from grinder sparks unnecessarily.
Fix: Routine checks. I set reminders on long jobs.
Overlooking maintenance: Cracked covers let damage in. Replace monthly in heavy use.
Maintenance and Care to Keep Your Helmet Lasting
Treat your helmet right, and it’ll last years. Clean with mild soap, no abrasives.
Store away from heat—batteries hate extremes.
Replace lenses when pitted; gaskets prevent spatter ingress.
For solar-powered models, expose to light regularly.
Tip: Use helmet bags to avoid scratches.
I’ve extended helmet life by simple habits, saving hundreds.
Integrating Helmet Use with Equipment and Safety Best Practices
Your helmet works with other gear. Pair with respirators for fumes, gloves for heat.
Machine settings: Match helmet shade to amps—higher amps, darker shade.
Material insights: Welding stainless? Use TIG with purge gas; helmet helps monitor color for heat control.
Cost efficiency: Proper use reduces defects, saving filler metal.
In US shops, follow AWS codes—helmet ensures you see to meet standards.
Wrapping It Up: You’re Ready to Weld Safer and Smarter
There you have it—everything from setup to advanced tweaks on how to use a welding helmet. By now, you should feel confident picking the right one, adjusting it for your process, and avoiding pitfalls that could sideline you. Whether sticking rods for structural work or TIGing intricate parts, a well-used helmet protects your health, boosts weld quality, and cuts costs on fixes.
Prioritize fit and testing, match shades to your welding type, and maintain regularly. You’re more prepared because you understand the why behind the how—leading to better decisions in the shop.
Always start a session with a quick sensitivity check in your lighting; it prevents surprises and keeps your focus on crafting solid welds. Get out there and make some sparks!
FAQ
What shade level should I use for MIG welding?
For MIG, aim for shade 10-12 depending on amps. Lower for thin sheets under 150 amps to see the puddle clearly; bump up for heavier work to block intense light.
How do I know if my auto-darkening helmet battery is low?
Most have an indicator light that blinks red. If the lens doesn’t darken consistently, replace the battery immediately to avoid exposure.
Can I use a welding helmet for grinding?
Yes, if it has grind mode—the lens stays clear. Otherwise, flip it up or use separate safety glasses to protect from debris.
What’s the difference between passive and auto-darkening helmets?
Passive requires manual flipping with a fixed shade; auto-darkening senses the arc and adjusts automatically, reducing fatigue and improving setup accuracy.
How often should I replace the lens covers on my helmet?
Every 1-3 months in regular use, or sooner if pitted from spatter. Clean ones ensure clear vision and protect the expensive auto-lens.


