
I’ve spent more than a few frustrating hours staring at welds that looked more like little metal mountains than smooth beads. No matter how careful I was with my MIG gun angle or travel speed, those welds just kept climbing taller than I wanted.
That’s when I realized that figuring out why my MIG welds are so tall isn’t just about aesthetics—it’s about strength, penetration, and making sure your joints actually hold.
I’ve learned that a “tall weld” usually points to a few key mistakes in technique, settings, or material prep. I’m going to walk you through what I check first, what adjustments make the biggest difference, and how to turn those spiky beads into clean, consistent welds you can be proud of.
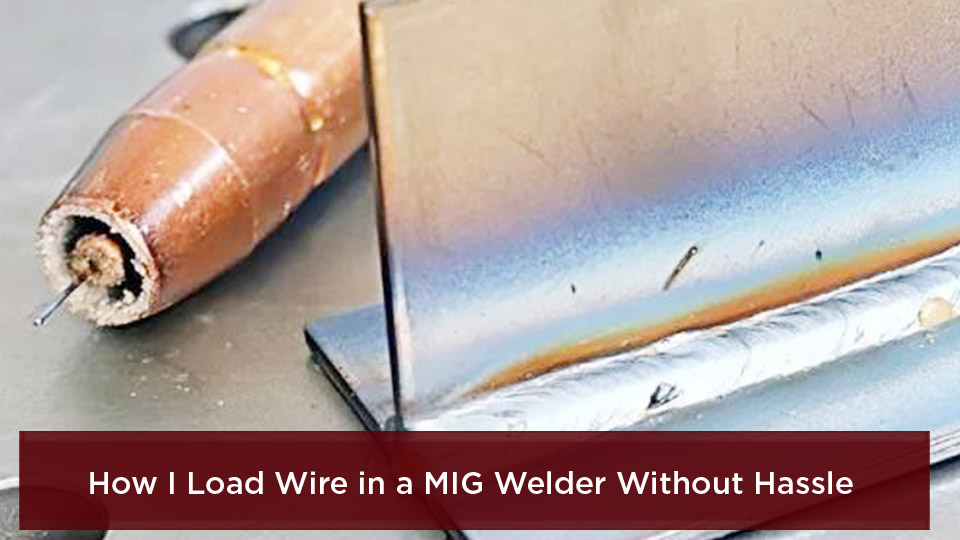
Image by diycraftsy
Understanding MIG Welding Basics and Why Bead Height Matters
MIG welding, or Metal Inert Gas welding as we call it, is my go-to process for quick, clean joins on everything from sheet metal to thicker plates. It uses a continuous wire electrode fed through a gun, shielded by gas like argon or CO2 mixes to protect the weld pool from contaminants.
But when your beads come out too tall—meaning they’re convex and raised instead of flat and flush—it’s a sign something’s off in your setup or technique.
I’ve seen this issue pop up a lot with hobbyists and even seasoned folks switching machines. Tall beads reduce penetration into the base metal, creating a weak bond that’s prone to breaking.
On the safety side, imagine welding a trailer hitch; if that bead doesn’t fuse deep, it could shear off on the highway. Cost-wise, you’re wasting wire and gas, plus grinding down excess later eats into your productivity.
In my shop days, we’d always prioritize flat profiles for better fatigue resistance in applications like automotive frames or pipeline work, adhering to US codes like AWS D1.1 that emphasize proper reinforcement without excess height.
Think of the weld bead like stacking pancakes—if they’re too thick and uneven, the whole stack wobbles. The goal is a smooth, slightly convex bead that ties into the toes seamlessly. Semantic terms like “weld reinforcement” or “bead profile” come up a lot in troubleshooting, but it boils down to balancing heat, speed, and feed.
Common Causes of Tall MIG Welds
From my experience, tall welds usually stem from a mismatch in your parameters. One time, I was helping a buddy weld up some exhaust pipes, and his beads were towering because he had the wire cranked up too high without enough volts to melt it properly. It just piled on top instead of penetrating.
Low voltage is a big culprit. When your volts are too low, the arc runs cold, and the wire doesn’t fully melt into the pool. Instead, it stacks up, giving that ropey look. I’ve noticed this especially on thinner materials where folks dial down to avoid burn-through, but overdo it.
High wire feed speed exacerbates this. If you’re feeding wire faster than the arc can handle, excess metal builds up. I remember ruining a batch of brackets because I bumped the dial accidentally—beads were twice as high as needed.
Slow travel speed lets the pool linger, depositing more material in one spot. On job sites, I’ve seen apprentices move like they’re in molasses, thinking slower means better control, but it just creates humps.
Gun angle and technique play in too. Dragging at too steep an angle or not weaving on wider joints can concentrate the deposit. And don’t forget material prep—rust or mill scale resists fusion, forcing the bead upward.
In vertical positions, gravity pulls the pool down, but if settings are off, it sags into a tall crown. I’ve welded overhead beams where this was a nightmare until I adjusted.
How Low Voltage Leads to High Beads
Voltage controls the arc length and heat input in MIG. Too low, and you’re essentially cold welding—the wire touches the pool but doesn’t integrate fully, building height instead.
I’ve fixed this countless times by bumping volts up a notch. For example, on 1/8-inch mild steel with 0.035 wire, I aim for 18-20 volts. If it’s low at 16, beads tower. Test on scrap: lay a bead, check the profile. If it’s peaked, add volts until it flattens.
Common mistake? Ignoring machine charts. Most MIG welders like my old Lincoln have door charts—start there, but tweak based on sound. A good arc crackles like frying bacon; sputtering means low volts.
Prep helps: Clean edges ensure better arc stability. And pair with gas flow—15-20 CFH for CO2 mix prevents turbulence that cools the arc further.
The Role of Wire Feed Speed in Weld Height
Wire speed dictates how much filler enters the pool. Crank it too high, and you’ve got excess metal with nowhere to go but up.
In my garage projects, like building gates, I’ve dialed wire to 250-300 IPM for 0.030 wire on 16-gauge. Higher, and beads hump. Solution: Match to volts—higher speed needs more heat to melt it.
Mistake I see: Beginners max it out for “more weld,” but it weakens joints. Tip: Listen for steady feed; stuttering means overload. Use smaller wire like 0.023 for thin stuff to reduce deposit naturally.
Compatibility matters—ER70S-6 wire for mild steel flows better, reducing buildup compared to cheaper options.
Why Slow Travel Speed Piles Up Your Welds
Travel speed is how fast you move the gun. Too slow, and you’re dumping metal in one area, creating peaks.
I learned this welding farm equipment—rushing led to skips, but crawling made mountains. Aim for 10-15 inches per minute on butt joints; faster flattens.
Technique tip: Use a steady push motion at 10-15 degrees. Weaving side-to-side on fills distributes evenly. Anecdote: On a multi-pass V-groove, slow speed on caps stacked them; speeding up smoothed it.
Common fix: Practice stringers on plate. If beads are wide and tall, accelerate. Balances with joint type—tees need slower for fillet height, but not excessive.
Gun Angle and Technique Tips for Flatter Beads
Your gun angle affects puddle control. Pushing at 10-15 degrees forward flattens beads by directing heat ahead, while dragging pulls it up.
I’ve preferred pushing for most flat work—it penetrates better and reduces height. On aluminum, it’s essential to avoid soot buildup.
Mistake: Holding perpendicular stacks wire. Tip: Keep 3/8-inch stickout—longer cools the arc, leading to highs.
For multi-pass, overlap 50% to avoid valleys that force later beads up. In my shop, we’d mark lines for consistent travel.
Safety note: Always wear your PPE—gloves, helmet with proper shade—to focus without distraction.
Material Preparation and Its Impact on Bead Profile
Prep is underrated but crucial. Dirty metal resists wetting, so the bead beads up instead of spreading.
I always grind or wire brush joints, especially on rusty stock. For galvanized, remove zinc to prevent porosity that lifts beads.
Tip: Bevel edges on thick plates for better access; chamfer at 30 degrees. Ensures fusion without excess filler.
In US shops, we follow OSHA for ventilation—fumes from poor prep can be hazardous.
Vertical and Overhead Welding Challenges with Tall Beads
Up positions fight gravity—the pool wants to droop, but wrong settings make it crown high.
I’ve welded tank stands vertically: Use uphill technique with slight weave to stack without sagging. Lower volts a bit, increase speed.
Common error: Too much heat melts it down. Tip: Short bursts, let cool. For overhead, push and keep tight arc.
Comparing MIG Settings for Different Materials
Here’s a table comparing settings to avoid tall beads:
| Material | Wire Size | Voltage | Wire Speed (IPM) | Travel Speed (IPM) | Gas Mix | Notes |
|---|---|---|---|---|---|---|
| Mild Steel (1/8″) | 0.035 | 18-20 | 200-300 | 10-15 | 75/25 Ar/CO2 | Increase volts for flatter profile |
| Stainless (16ga) | 0.030 | 17-19 | 150-250 | 12-18 | Tri-mix | Slower speed risks buildup |
| Aluminum (1/4″) | 0.035 | 20-22 | 300-400 | 15-20 | 100% Ar | Push technique essential |
| Galvanized | 0.035 | 19-21 | 250-350 | 10-15 | CO2 | Remove coating first |
This helps dial in—pros of higher volts: better penetration; cons: risk burn-through on thin.
Step-by-Step Guide to Fixing Tall MIG Welds
Let’s walk through fixing this.
Step 1: Check your machine. Ensure clean liner, proper tension. Calibrate if digital.
Step 2: Prep material. Clean, fit-up tight—no gaps force extra filler.
Step 3: Set baseline. Use chart: for 0.035 wire on steel, 19V, 250 IPM.
Step 4: Test bead on scrap. If tall, up volts 1-2, down wire 50 IPM.
Step 5: Adjust technique. Push gun, 3/8″ stickout, steady speed.
Step 6: Weave if needed for wider joints.
Step 7: Inspect. Use calipers—reinforcement under 1/8″.
Repeat till perfect. I’ve used this on jobs to save time.
Pros and Cons of Weaving vs. Stringer Beads
Weaving: Pros—flattens wide areas, reduces passes; cons—risk slag trap in flux-core.
Stringers: Pros—faster, consistent; cons—more passes can build height if overlapped wrong.
I weave on fills, stringer on caps for control.
Safety Considerations When Adjusting for Better Welds
Safety first—tall welds might hide cracks, so inspect. Use auto-dark helmets, leather gear.
Ventilate for fumes; CO2 mixes need good flow. In confined spaces, monitor air.
I’ve avoided burns by grounding properly—prevents shocks that jerk your hand, messing beads.
Equipment Recommendations for Consistent Beads
Stick with reliable MIG guns like Tweco or Bernard—better ergonomics for steady hold.
For hobbyists, a 140-180 amp machine like Hobart Handler suffices; pros need 250+ like Miller Multimatic.
Tip: Upgrade to pulse MIG for aluminum—controls heat, reduces height.
Real-World Applications and Case Studies
In auto repair, tall welds on frames fail vibration tests. I fixed a buddy’s bumper by flattening with higher volts—held strong.
On construction sites, pipe welds per ASME codes can’t exceed reinforcement limits—adjust speed key.
For DIY, fencing: Tall beads rust faster; proper profile lasts years.
Advanced Techniques for Professional Welders
For pros, try spray transfer on thick stock—higher volts flatten naturally, but needs 90/10 gas.
Backstep on long runs prevents warping that lifts beads.
Students: Practice on coupons, get certified—shows mastery over profiles.
Wrapping Up
Understanding why your MIG welds are tall boils down to balancing voltage, wire speed, and travel—too low volts or high feed piles it up, while slow movement adds to the issue. By prepping right, tweaking settings, and refining technique, you’ll get those flat, strong beads that hold up in the real world, saving you time, materials, and headaches.
Whether you’re a DIYer in your garage or a pro on the clock, you’re now equipped to troubleshoot like a seasoned hand—safer joints mean fewer failures, and that’s what keeps us all coming back to the torch.
Always run a test bead on scrap matching your project material before the real deal—it catches issues early and builds your confidence.
FAQs
How can I tell if my MIG weld is too tall?
Measure the reinforcement—it shouldn’t exceed 1/8 inch above the base for most structural work. Visually, if it’s peaked like a rope instead of smoothly tying into the toes, it’s too high and risks poor fusion.
What voltage should I use to avoid tall MIG welds?
Start with 18-22 volts for common setups like 0.035 wire on mild steel, but test and increase if beads stack. Higher volts flatten by improving arc heat and penetration without excess deposit.
Is weaving better for flattening MIG beads?
Yes, a slight side-to-side weave distributes the pool evenly on wider joints, reducing height compared to straight stringers, but avoid overdoing it to prevent defects like undercut.
Why do my vertical MIG welds get taller?
Gravity pulls the molten metal down, but low heat or slow speed lets it build up. Use uphill progression with adjusted lower wire speed and weaving to control the stack.
What wire size helps prevent high beads in MIG?
Smaller diameters like 0.030 inch deposit less metal per pass, helping on thin materials, while 0.035 suits thicker but needs matched speed to avoid buildup.


