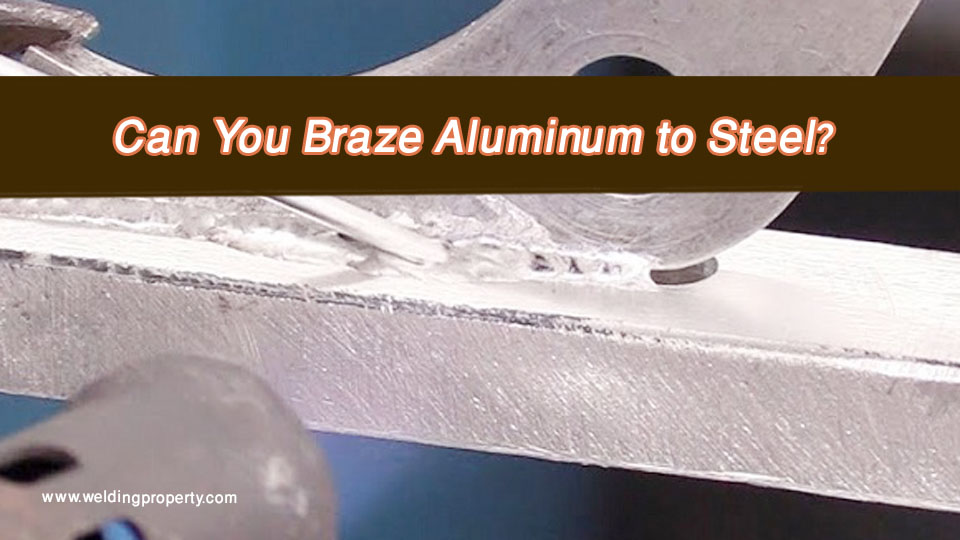
Brazing cast iron is a skill that can save you a lot of money and trouble, especially if you’re dealing with broken engine blocks, machine parts, or antique cast iron pieces. Unlike traditional welding, brazing uses a lower temperature and a filler material to join metal without melting the base metal itself.
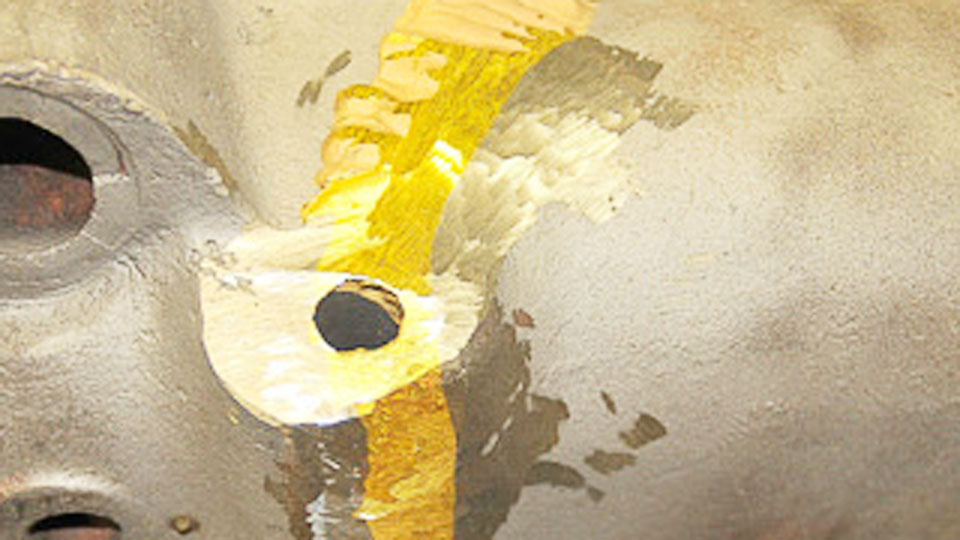
Image by 4wdmechanix
This makes it a great option for repairing cast iron without causing the stress cracks that often come with high-heat welding. I’ve worked with cast iron repairs many times, and I know how frustrating it can be to see a part break. Cast iron is strong, but it’s also brittle, and once it cracks, it can be tricky to fix. That’s where brazing comes in.
When done correctly, brazing can create a strong, durable bond that holds up under stress. The key is using the right filler metal, heating the cast iron properly, and making sure the joint is clean. Let’s go step by step through the process so you can learn how to braze weld cast iron successfully.
Why Braze Welding Works Well for Cast Iron
Cast iron is different from steel because it has a high carbon content, making it more brittle and prone to cracking when exposed to rapid heating and cooling. Traditional arc welding methods can cause these cracks, but brazing avoids this issue by keeping the heat lower.
With brazing, you don’t actually melt the cast iron. Instead, you heat the metal to a temperature where the filler metal (usually a brass or bronze rod) melts and flows into the joint, bonding the pieces together. This method is especially useful for repairing old cast iron parts that might be too fragile for welding.
Choosing the Right Filler Material for Brazing Cast Iron
Picking the right filler metal is essential for a strong bond. The most common filler materials for brazing cast iron are:
| Filler Metal | Melting Point | Best Used For |
|---|---|---|
| Bronze (Silicon Bronze) | 1800°F (980°C) | General repairs, strong and corrosion-resistant |
| Nickel Silver Rods | 1750°F (955°C) | High-strength joints, good for automotive repairs |
| Brass Rods | 1600°F (870°C) | Lower temperature brazing, works well with flux |
Each of these materials has advantages, but silicon bronze is one of the best choices for brazing cast iron because it’s strong, corrosion-resistant, and flows well into the joint.
How to Prepare Cast Iron for Brazing
Before you start brazing, preparation is key. If the surface is dirty or covered in oil, the filler metal won’t bond properly. Here’s how to get the cast iron ready:
Clean the Surface Thoroughly
Cast iron tends to absorb oil, grease, and carbon over time, which can ruin a brazed joint. Use a wire brush, grinder, or sandblaster to clean off any dirt, rust, or old paint. If there’s oil in the metal, heat it gently with a torch to burn it out before cleaning again.
Preheat the Cast Iron
One of the biggest mistakes people make when brazing cast iron is not preheating it. If you heat only one area suddenly, the temperature difference can cause stress and cracking. Preheating helps prevent this. The recommended preheating temperature for cast iron is 500°F to 900°F. You can use a propane or oxy-acetylene torch to do this, or for larger parts, an oven or heat blanket works well.
Use the Right Flux
Flux is necessary when brazing cast iron because it helps remove oxidation and allows the filler metal to bond smoothly. There are different types of flux, but for cast iron, a borax-based brazing flux is usually the best choice.
How to Braze Weld Cast Iron
Once the cast iron is cleaned and preheated, you’re ready to start brazing. Here’s the process step by step:
Heat the Joint Evenly
Use an oxy-acetylene or propane torch with a neutral or slightly reducing flame to heat the area evenly. Avoid overheating one spot, as this can cause warping. Move the torch in a slow, circular motion to distribute the heat.
Apply the Flux
Once the cast iron reaches the preheat temperature, brush or sprinkle the flux onto the joint. The flux will start to bubble and turn clear when it’s ready for the filler metal.
Add the Filler Metal
Touch the brazing rod to the joint and let it melt and flow into the gap. Don’t try to force the filler metal into the joint with the torch—just let it wick into the crack naturally. If necessary, move the torch slightly to guide the flow.
Maintain Even Heating
Keep the heat steady and even while brazing to prevent sudden temperature changes. If the joint starts cooling down before you finish, reheat it gradually.
Cool Down Slowly
Once you’re done brazing, don’t cool the cast iron too quickly. Rapid cooling can cause stress and cracks. Let it cool down slowly by wrapping it in a welding blanket or burying it in sand.
Post-Brazing Cleanup and Inspection
Once the part has cooled, remove any remaining flux with a wire brush and warm water. Flux residue can be corrosive, so cleaning it off is important. Then, inspect the joint carefully to make sure the filler metal flowed properly and there are no weak spots. If needed, you can grind down any excess filler metal to make the repair look smoother.
Common Mistakes to Avoid
Even experienced welders can run into problems when brazing cast iron. Here are some common mistakes and how to avoid them:
- Not preheating enough – If the cast iron is too cold, the filler won’t flow properly, and cracks may form.
- Overheating the filler metal – If you apply too much heat to the brazing rod, it will burn instead of flowing smoothly.
- Skipping flux – Without flux, the filler metal won’t bond correctly, leading to weak joints.
- Cooling too fast – Always let the cast iron cool gradually to prevent stress cracks.
Advantages of Brazing Cast Iron
Brazing is a great option for cast iron repairs because:
- It uses lower temperatures than welding, reducing the risk of cracks.
- It allows for strong, durable joints that resist vibration and stress.
- It works well on thin or delicate cast iron parts that might not handle arc welding.
- It’s versatile—you can use it on engine blocks, exhaust manifolds, machinery, and even antique cast iron cookware.
Conclusion
Brazing cast iron is an excellent way to repair broken or cracked parts without risking the damage that can come with high-heat welding. By choosing the right filler metal, cleaning and preheating the workpiece properly, and controlling the cooling process, you can create a strong, reliable bond.
If you’re working with cast iron, especially older or delicate parts, brazing can be a lifesaver. Take your time, follow the steps carefully, and you’ll get a solid repair that holds up over time.
Frequently Asked Questions (FAQs)
Can I braze cast iron with a propane torch?
Yes, but an oxy-acetylene torch is better for larger repairs because it provides more heat.
What is the best brazing rod for cast iron?
Silicon bronze or nickel-silver rods are the best choices for strong, durable bonds.
Do I need to use flux when brazing cast iron?
Yes, flux is essential for cleaning the metal and helping the filler flow properly.
How long should I let cast iron cool after brazing?
It’s best to let it cool slowly over several hours to prevent cracks.
Can I grind down the brazed joint after it cools?
Yes, you can grind or sand the joint to smooth it out, but be careful not to remove too much material.